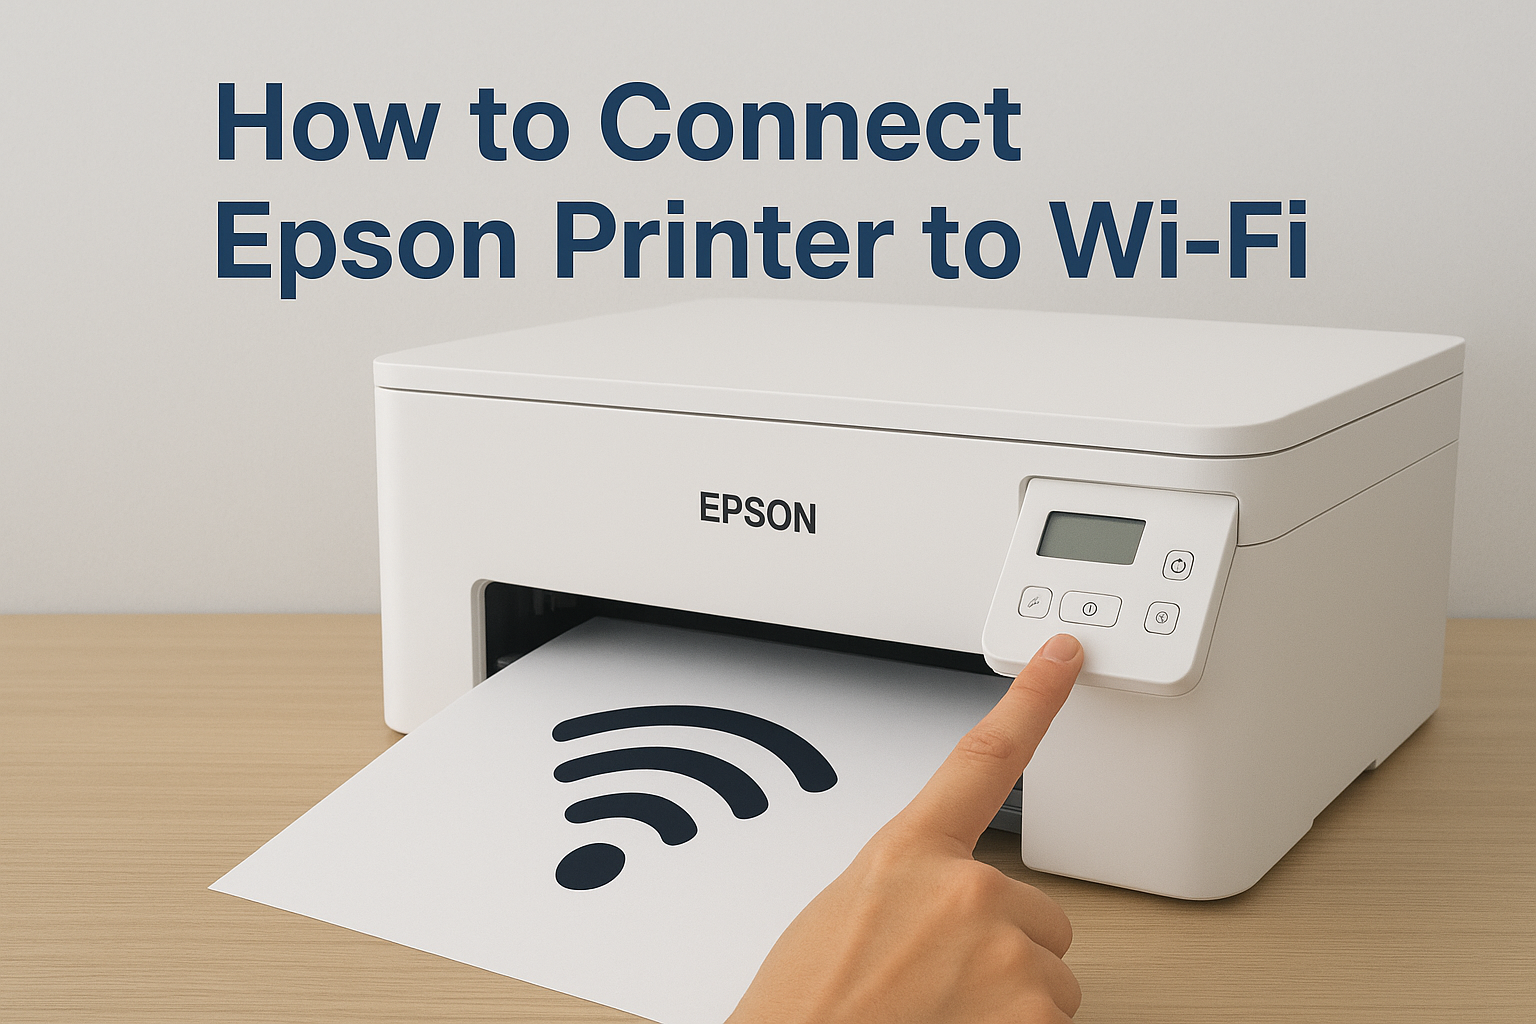
1. Connect Your Epson Printer to Wi-Fi
Most Epson printers feature a Wi-Fi setup option that makes it easy to get started. Here’s how:
- Turn on your Epson printer and load paper and ink/toner.
- From the printer control panel, press the Home button.
- Navigate to Wi-Fi Setup → Wi-Fi Setup Wizard.
- Select your Wi-Fi network name (SSID) and enter the password.
- Once connected, the Wi-Fi light will remain steady.

2. Install Epson Printer Drivers
Drivers are essential for communication between your computer and Epson printer. Depending on your device:
- Windows: Go to Settings → Devices → Printers & Scanners, then click Add a Printer.
- Mac: Open System Preferences → Printers & Scanners, then click + to add your printer.
- In most cases, your computer will install Epson drivers automatically once connected to Wi-Fi.

3. Use Epson Smart Panel App
The Epson Smart Panel app allows you to set up, print, scan, and manage your Epson printer directly from your phone or tablet.
- Download the Epson Smart Panel app from your device’s app store.
- Open the app and select Add Printer.
- Follow the guided setup process to connect your printer.

4. Setup via Epson Official Website
Epson provides detailed setup instructions and resources on their official website. You can search for your specific printer model and follow their guides step by step.

Disclaimer
This page is for informational and educational purposes only. We are not affiliated with Epson. We do not provide customer support, phone numbers, or troubleshooting services. For official assistance, please visit Epson’s official website and documentation.