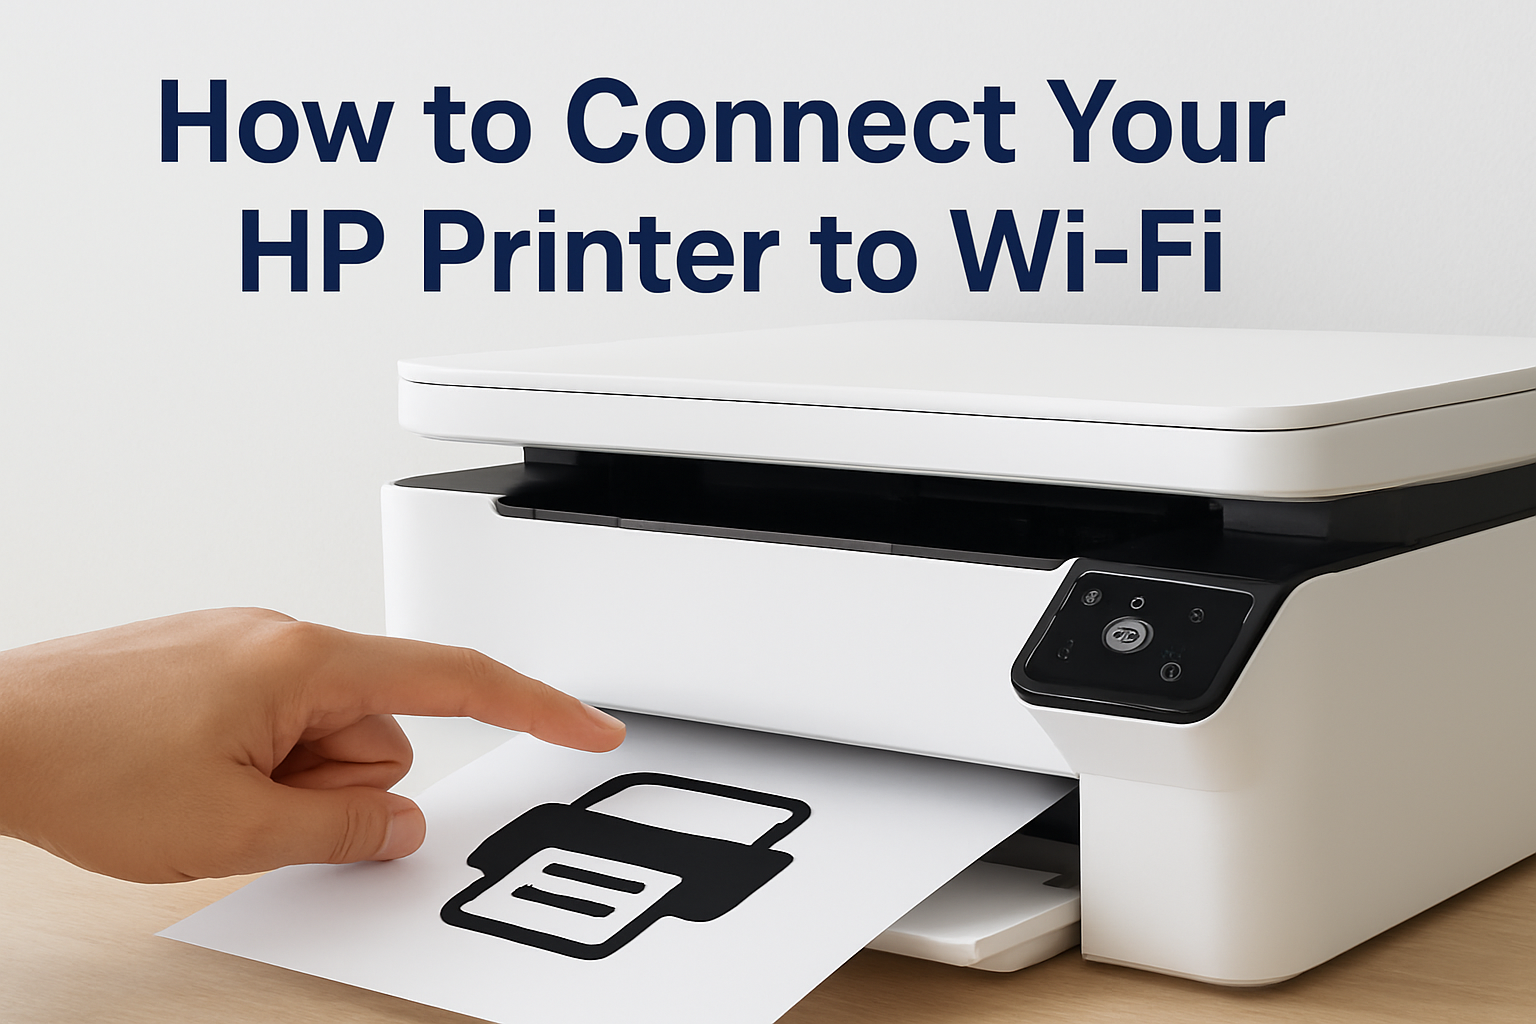
1. Connect Your HP Printer to Wi-Fi
Most HP printers allow you to connect directly to your Wi-Fi network without needing cables. Here’s how:
- Turn on your HP printer and ensure it has paper and ink/toner.
- From the printer’s control panel, go to Settings → Wireless → Wireless Setup Wizard.
- Choose your Wi-Fi network name (SSID) and enter the password.
- Once connected, the wireless icon on your printer will remain solid.
2. Install HP Printer Drivers
Drivers are software that allow your computer to communicate with your printer. Without them, your printer may not work properly.
- On Windows: Go to Settings → Devices → Printers & Scanners, then choose Add a Printer.
- On Mac: Open System Preferences → Printers & Scanners, then select + to add your printer.
- Most modern HP printers automatically install the correct driver when connected to Wi-Fi.
3. Use HP Smart App
The HP Smart App helps you set up your printer, scan documents, and manage settings. It is available for Windows, macOS, iOS, and Android.
- Download HP Smart App from your device’s app store.
- Open the app and select Add Printer.
- Follow the on-screen instructions to complete setup.
4. Setup via 123.hp.com/setup
HP also provides a quick-start method through their setup portal (commonly referred to as 123.hp.com/setup). Simply enter your printer model and follow the step-by-step instructions provided by HP on-screen.
Disclaimer
This page is for informational and educational purposes only. We are not affiliated with HP. We do not provide customer support, phone numbers, or troubleshooting services. For official assistance, always refer to HP’s official website and documentation.